Article: REFLECTIONS
REFLECTIONS
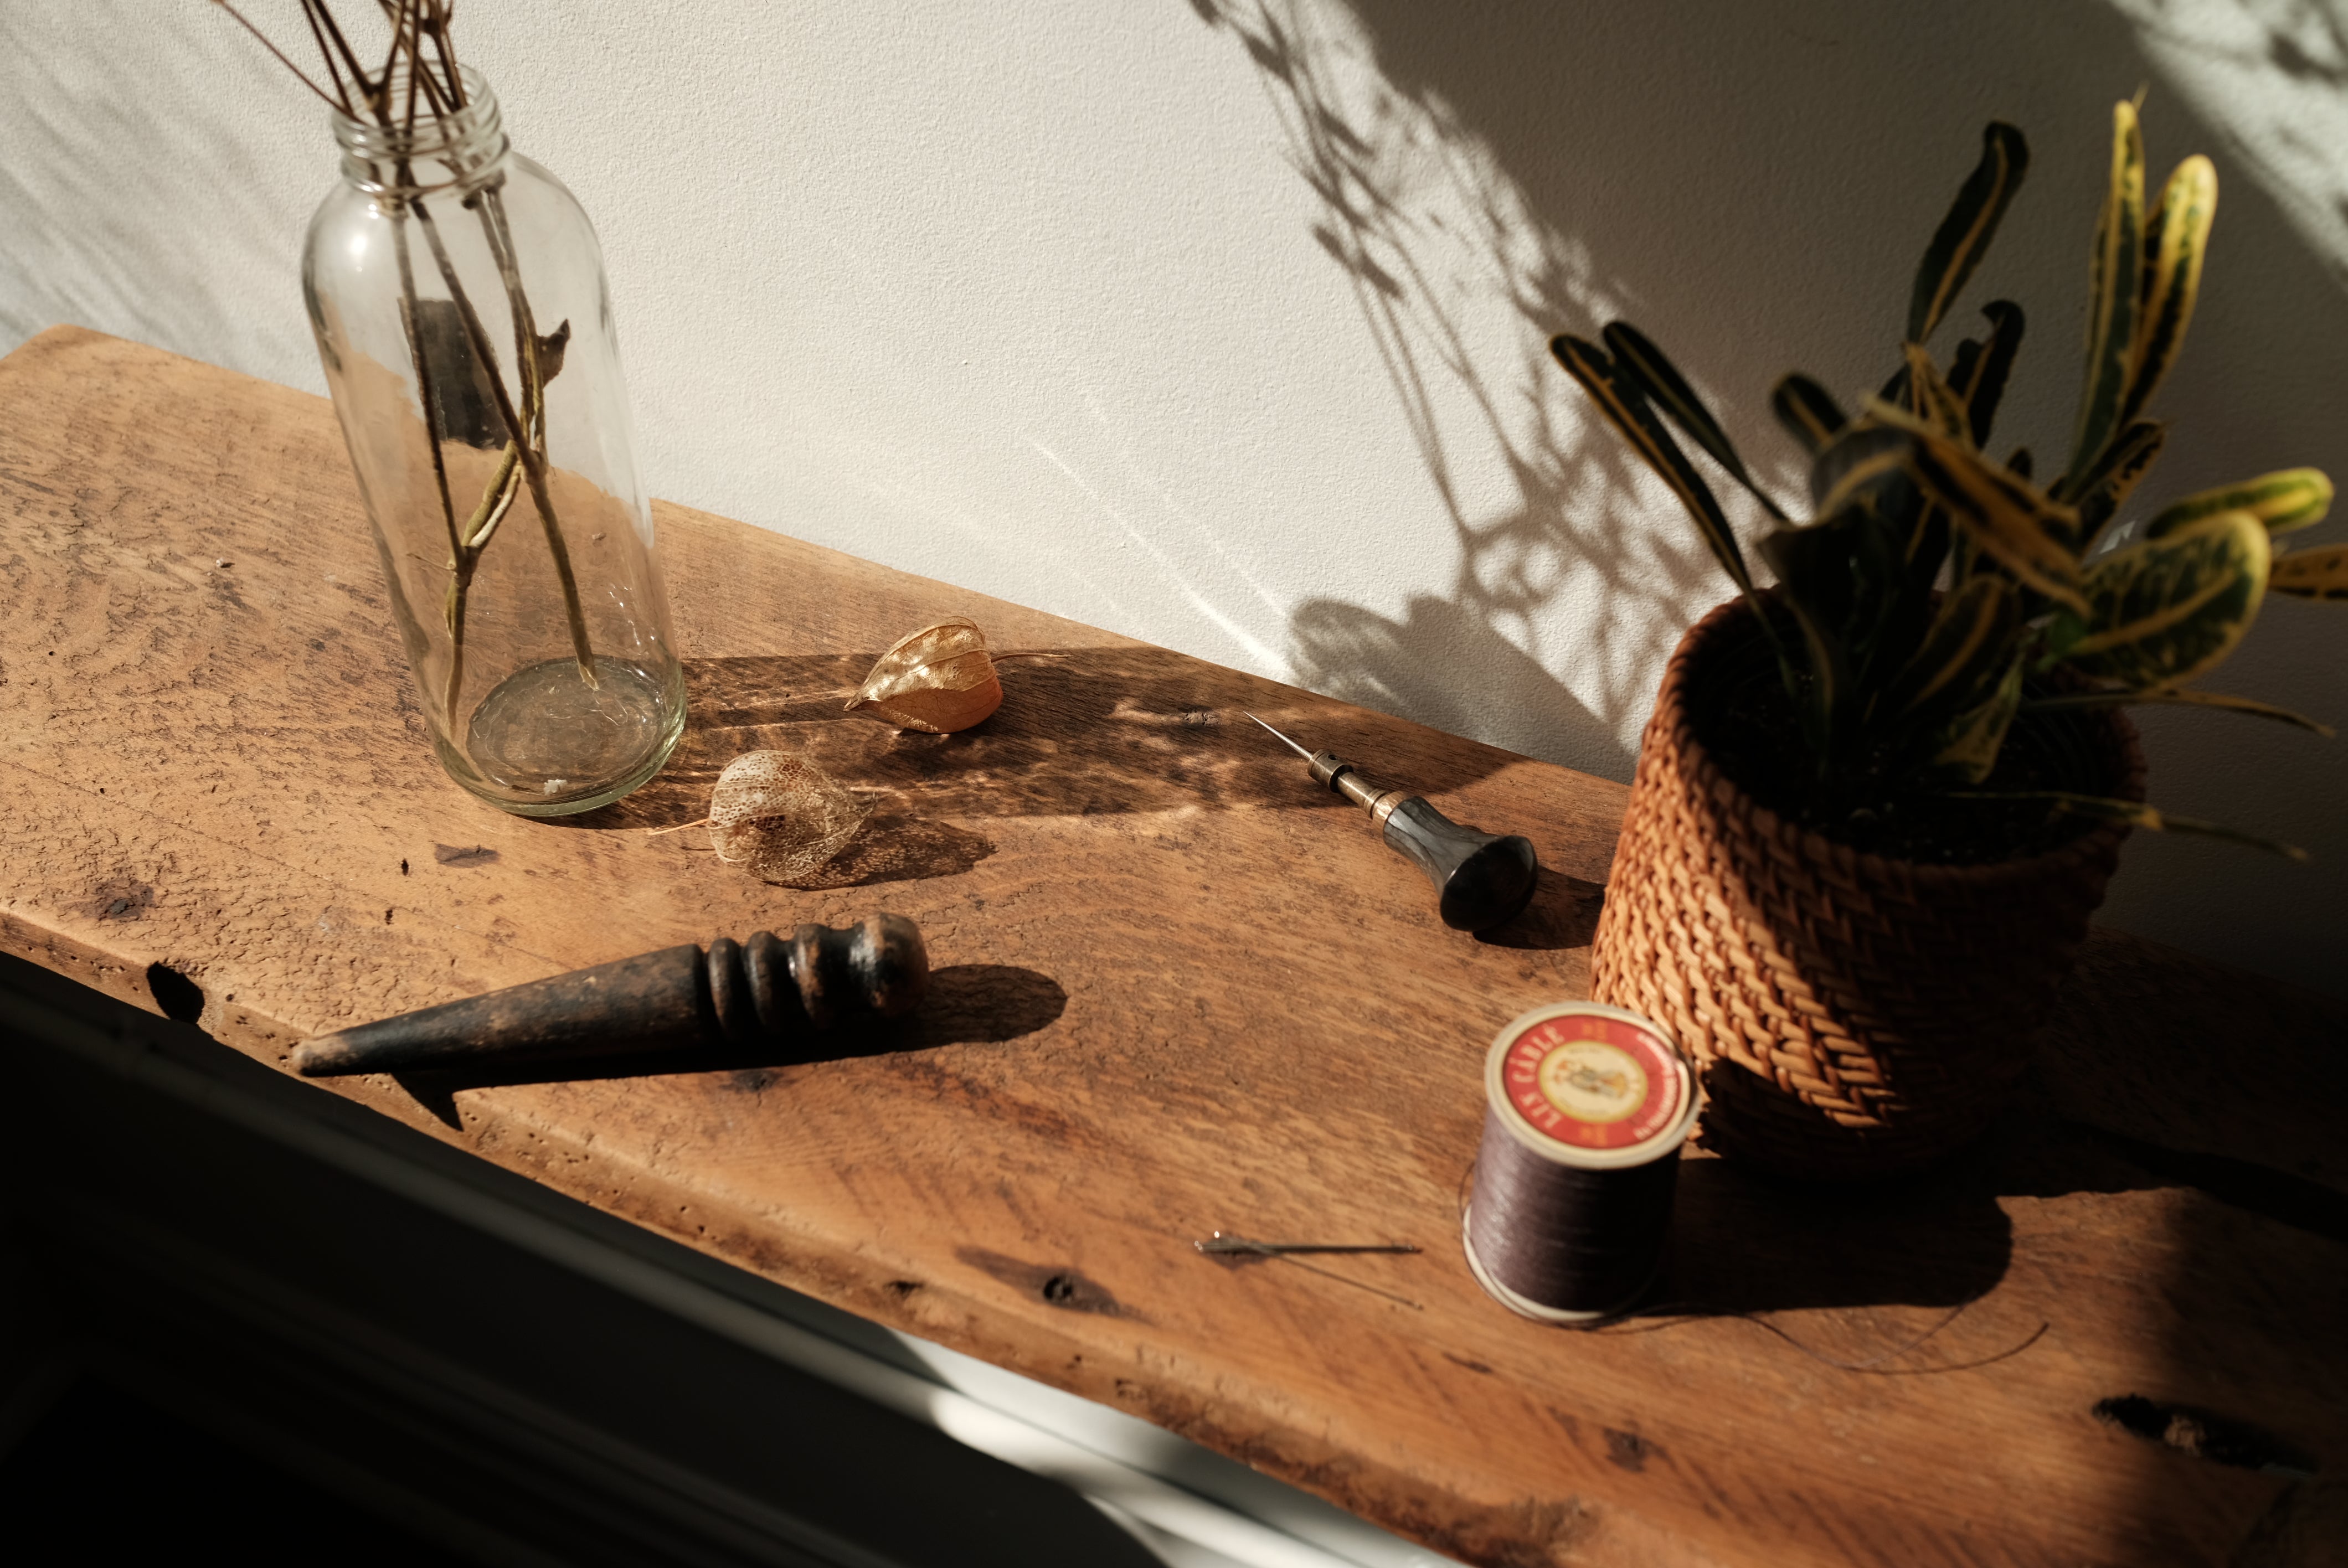
As the crisp winter air is hitting my face, I come to realize that the first year for Cavalier Goods Co. is coming to an end. It’s been a year of immense personal and professional growth. And yet it would be deceiving not to mention the struggles along the way, the days where you feel the shadow of failure constantly following you around. Throughout the year I have failed often, producing results that were not representative of what I wanted to achieve. But instead of letting it defeat me and demotivate, I persevered and kept pushing. It fuelled my inner fire to overcome these hurdles and in the end, I got further than I ever expected and leatherworking has really become a major part of my life that gives me an immense sense of accomplishment and satisfaction.
It was exactly January 1st 2018 when I launched Cavalier Goods Co.’s Instagram account and put my first post out there. In the past 12 months, I’ve been fortunate enough to be part of a community of exceptional artists from around the world, making invaluable connections that helped me tremendously to grow and learn about leathercraft. With this first journal entry, I want to give back to the community and outline three helpful tips I that helped me become better at leatherworking.
1.) Trim Allowance
The biggest struggle I was having with my end results was that my edges never looked as finished as I was hoping. No matter how clean I traced my patterns and how much care I put into cutting, there is no way my edges would align perfectly. Sanding the edges afterwards with different grids definitely helped to eliminate inconsistencies, but it’s extremely tedious and the results were unsatisfying. During a time of frustration, I stumbled upon the concept of trim allowance and I had to try it immediately. If there is one thing that will make your products look more professional it’s this. Here’s how I use it:
In my design file, I add a 25mm (about 1 inch) border with straight lines. The example below illustrates this with The Minimalist, which is a simple card holder. The dotted lines indicate the pattern and the straight lines are indicating the trim allowance.

I then go on and trace the straight lines onto the leather, burnish the card slot tops and glue all 4 pieces together. After that, I use the actual pattern and trace it onto one side of the piece I am working on. I then use my Kyoshin Elle corner punches to achieve really round corners and then it’s time to use a ruler and cut the straight line.


Technically, you can now bevel your edges and burnish them, but I’d like to go over it with 1,500 grit sandpaper again just to make it really smooth. Keep in mind, it’s important to only sand in one direction, otherwise you are roughing up the leather and achieving the opposite of a smooth edge. After applying some Tokonole and burnishing, the finished result should give you glass like straight edges.

2.) Sharp Knives
No doubt, there are countless leather knives out there and every leatherworker prefers different knives. If you are still cutting your leather with an X-Acto Knife, then it’s time to throw that out and get a real knife though. I use the following 3 knives for all the work I do:

Pattern Knife (Left), L’Indispensable Brass Knife (Middle) and Skiving Knife (Right).
-
Chartermade Pattern Knife
The pattern knife is extremely versatile and I use it mainly to cut straight lines or longer curves. It’s extremely sharp and usually the first knife I use for any project.
-
Vergez Blanchard L'Indispensable Brass Knife
The L’Indispensable knife is what I use to cut tight corners, mainly the top of card slots as it allows me to make really tight corner cuts at various angles. Instead of the out of the box blade, I am using a Tina blade.
-
Chartermade Skiving Knife
This knife definitely requires a lot of practice. Not only does it come extremely sharp, but it’s also used differently than most skiving knives. However, once you get comfortable with it, skiving can easily becoming one of the most fun and enjoyable parts of a project.
While having good knives is absolutely essential, I initially had a lot of trouble keeping my knives sharp. It’s extremely frustrating knowing you have exceptional knives, but yet they are not as sharp anymore after a couple of projects. I was really wary of using Japanese whetstones right away, as it’s easy to ruin the edge of a blade with them if you don’t know what you are doing. Luckily though, leathertoolz posted the following super helpful video, which gives a great overview of sharpening your knives (specifically Chartermade knives):
However, before even using a wet stone on any of my knives, I learned a much simpler and more essential skill: stropping. For this, I am using a Shell Cordovan strop from District Leather Supply. There are definitely cheaper alternatives out there, but this is the one I got and it’s working extremely well for me. I apply some green jewelers rouge and before every project, I simply strop the knife I am using 5-6 times on either side and it’s as sharp as new. Learn how to strop your knives and it will keep the edge of your knives sharp for months.
3.) Leatherworking Literature
No doubt, there is an abundance of information out there on every aspect of leatherworking, but it can be frustrating to scour the Internet and seeing a lot of different opinions on sometimes simple issues. While every leatherworker has their own techniques that work for them and there is often no wrong or right way to do something as long as it works for you, we all need a little guidance and maybe even reassurance that we’re doing it the right way. Therefore, I want to share the following three books that I have found to be super helpful in giving me guidance & new ideas as well as making me a better craftsmen:

Leatherwork School by Ellen M. Valentin
If there is one book every leatherworker should have on their shelves than it’s hands down this one. Not only does it cover all the basic tools and techniques, but also provides ten patterns and projects to test out your skills. It’s illustrated with more than 500 pictures, so you can really understand each part of the processes that are explained.
LeatherWorks: Traditional Craft for Modern Living by Otis Ingrams
This one’s another beautifully illustrated book that aside from covering the major leatherworking tools and techniques also showcases more unusual projects like weaving a leather chair or making lamp shades. After all, leather is an extremely versatile material that can be greatly used to enhance your interior. Featuring various detailed and easy to follow along patterns, this is a great resource with really interesting projects.
Fashionary Bag Design: A Handbook for Accessories Designers by Fashionary
Let’s be honest: Making your own bag is probably somewhere on your list of things to make but it’s extremely terrifying as there are many things to consider and you’ll have to use a lot of leather. This book is great for showing the patterns of many common bag designs, explaining in detail essential information on bag anatomy.
I sincerely hope that you find some useful tips. Let me know if you have any questions in the comments or share your own invaluable tips.
Warmest regards,
Marvin
2 comments
Hey Kolby,
Thanks so much, I’m really glad to hear that the blog post helped you and thank you also for the encouraging words :)
All the best,
Marvin
Marvin
Hey Marvin,
I had to stop to write something. I love your work and how you built your brand. Your journals post actually helped me alot. It brought up some good points I had never heard of. Thank you for that. Keep up the amazing work.
Kolby
Kolby
Leave a comment
This site is protected by reCAPTCHA and the Google Privacy Policy and Terms of Service apply.